|
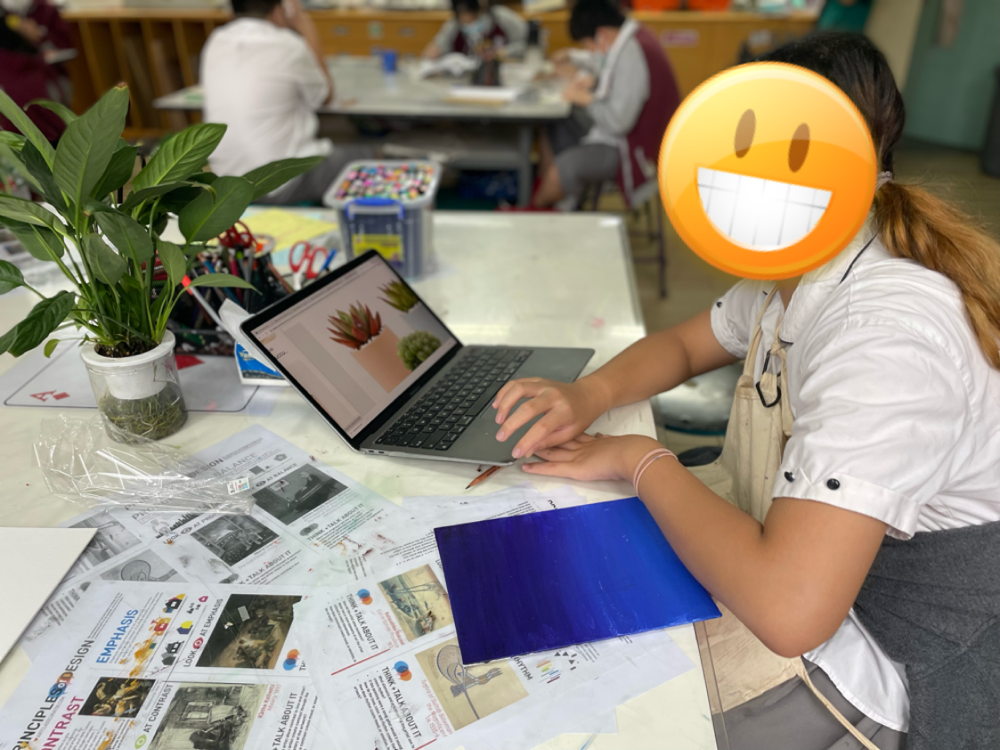
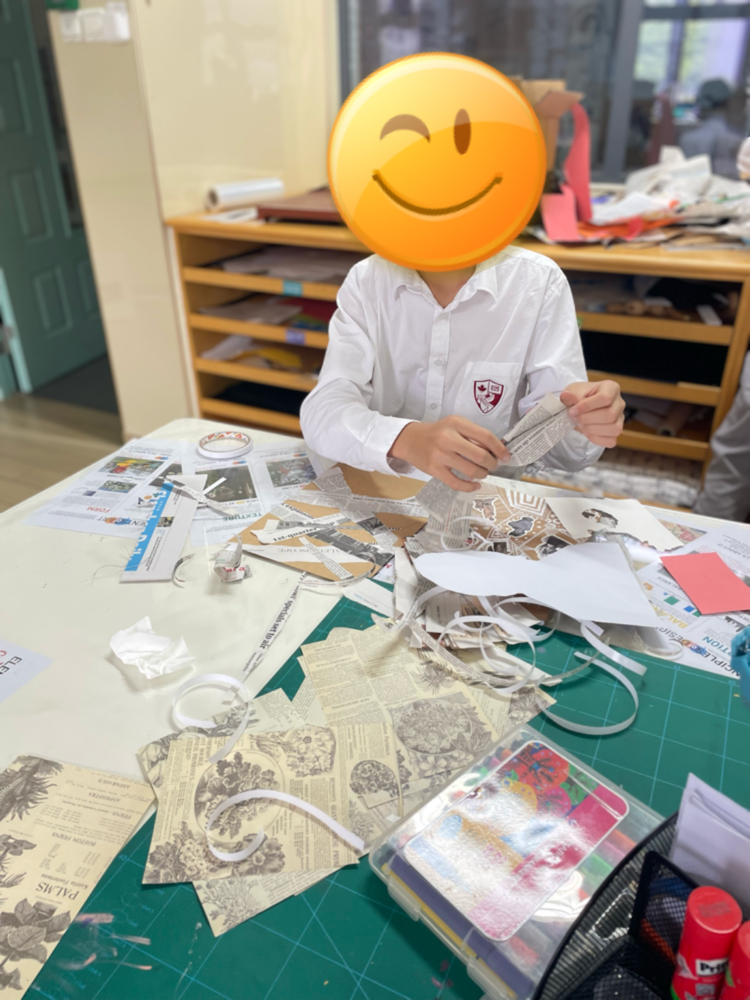
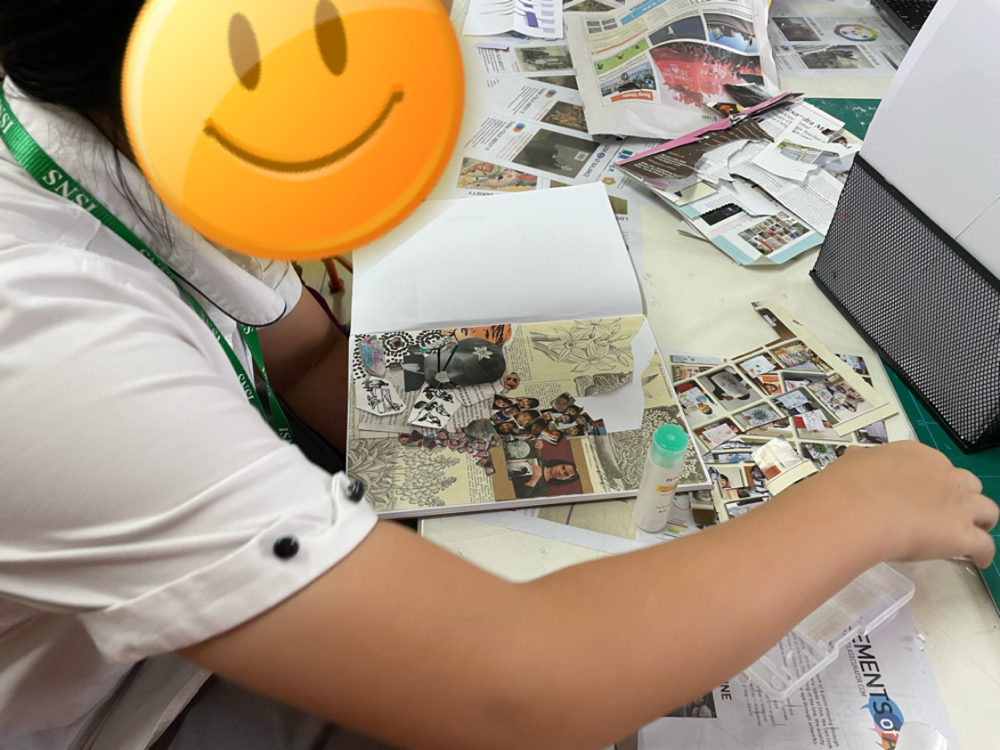
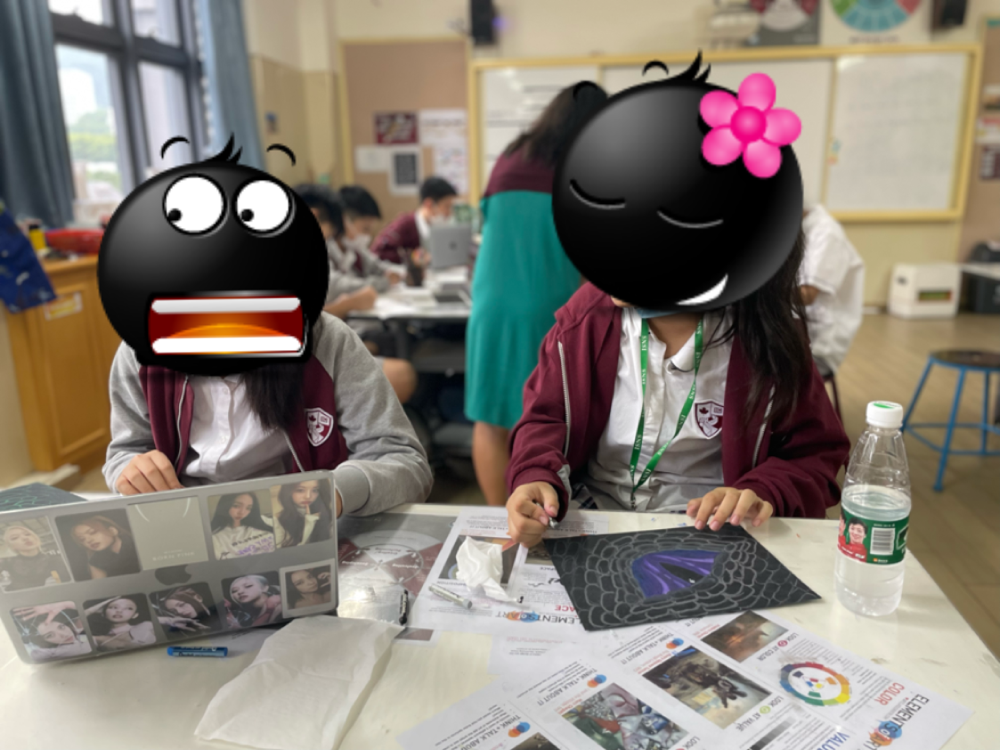
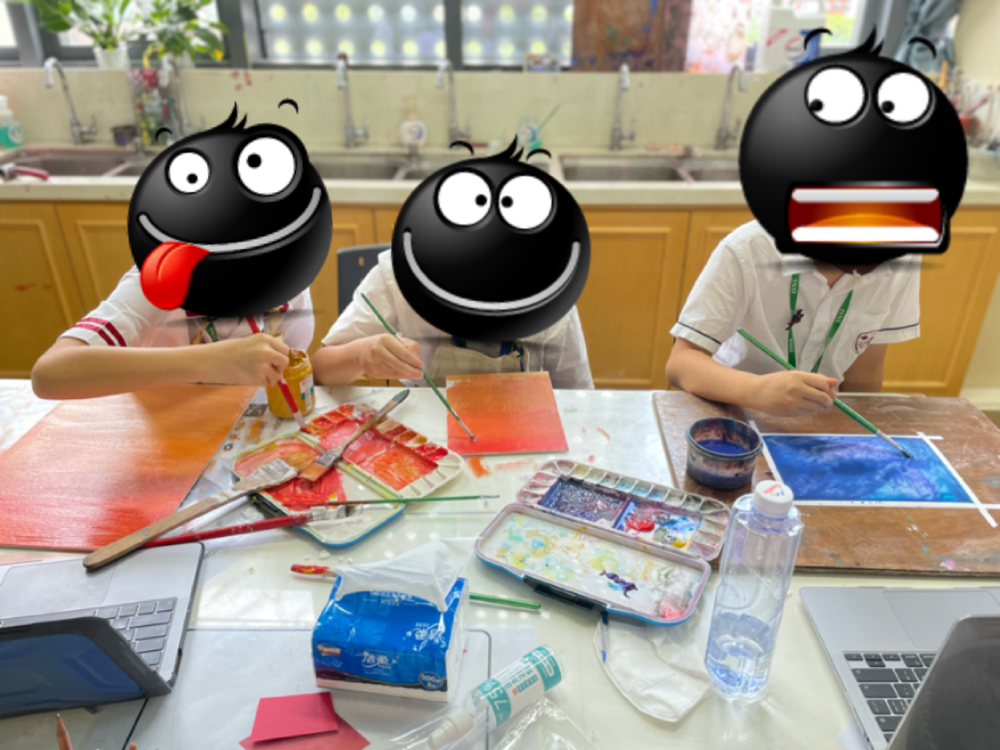
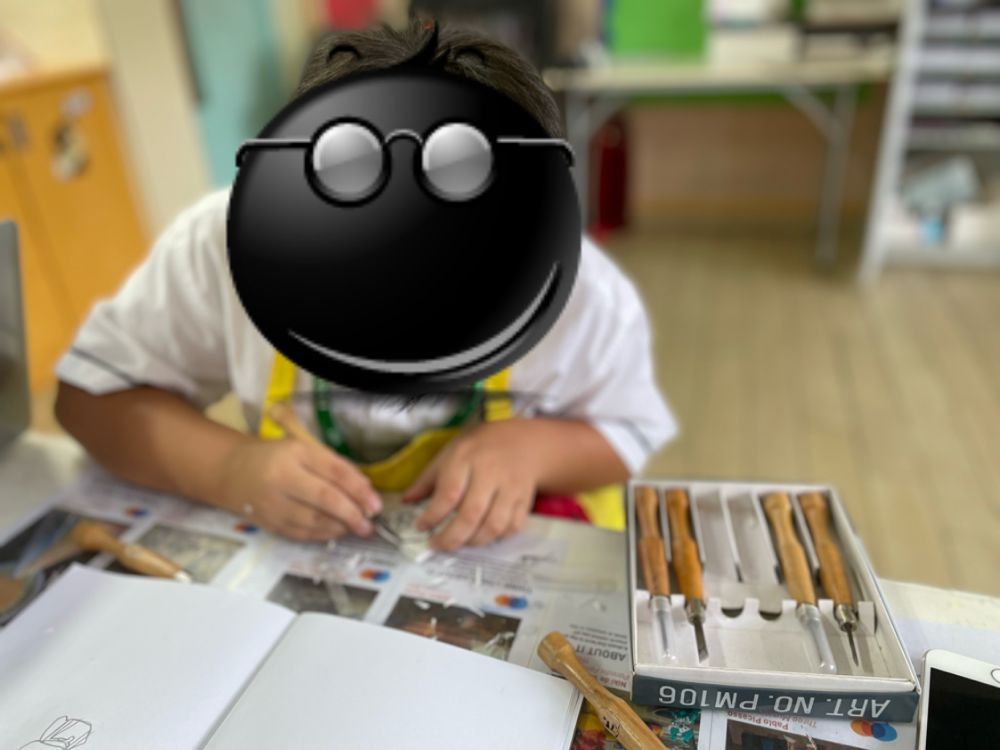
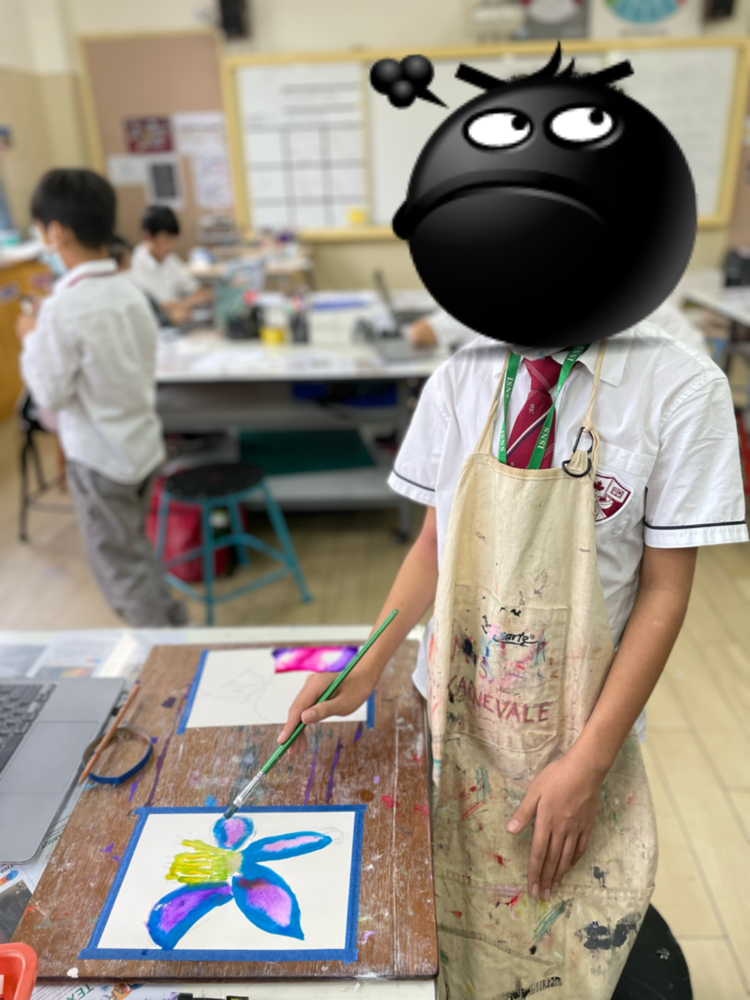
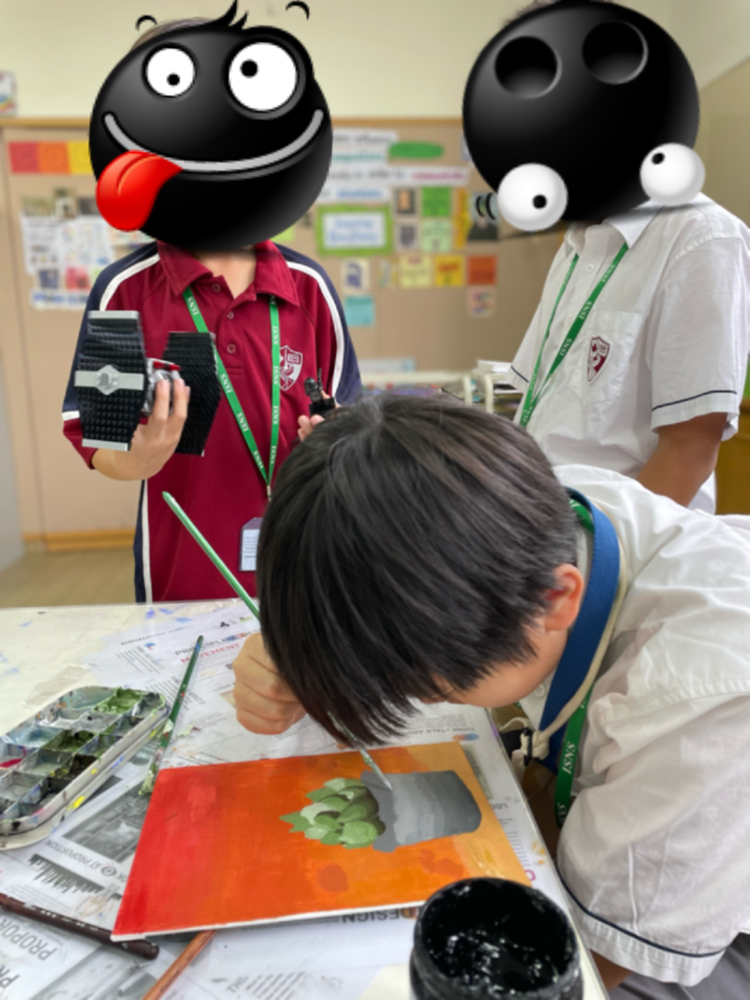
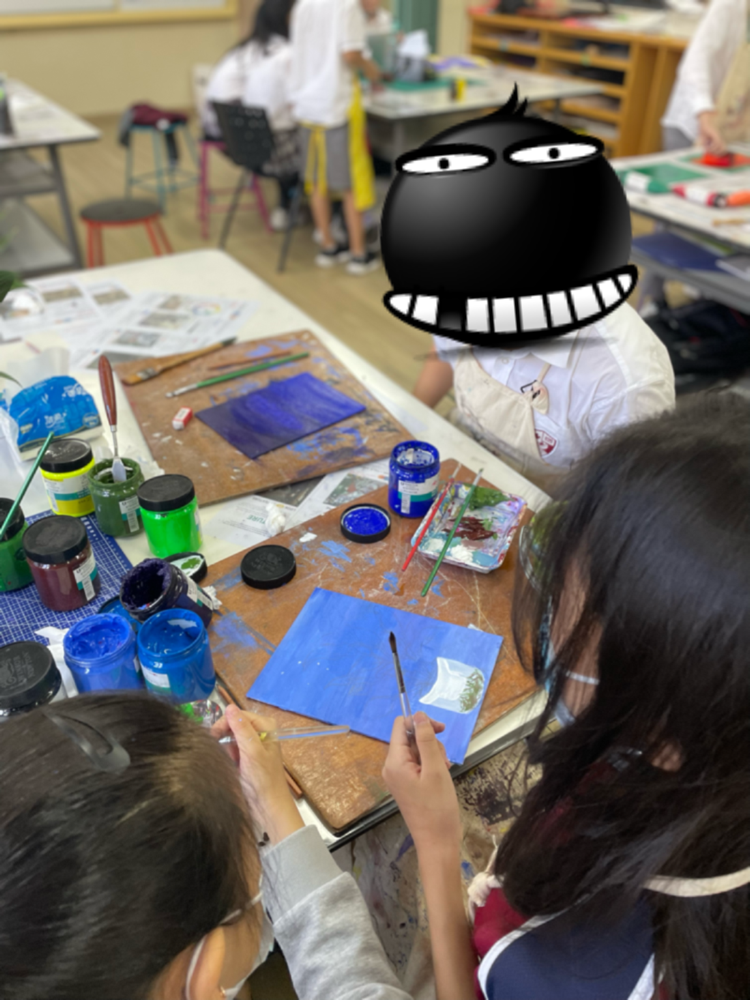
The most heartbreaking thing for me as an art teacher is an art class display that looks like a wallpaper: all students' works are identical and represent the same subject, with the same technique, the same composition, and the same colors. Sure, even the most talented and passionate kids need those skill-building activities. But, if our art teaching is 100% based on a so-called packaged curriculum, then perhaps it’s time to think about why we even teach art in the first place. For the past few years, I’ve been exploring different ways of implementing choice-based art education in my teaching. From arts and crafts stations for early finishers in lower primary to TAB-focused units in grades 3 and 5, I found various ways to promote students’ agency in my PYP art class, and I LOVED IT. Now, the time has come to artify no-always-so-artful middle schoolers. There are many fantastic resources about TAB (Teaching for Artistic Behavior) and choice spectrum in the art room. Still, I’d like to quote this great article from The Art of Education by Janet Taylor: “Trying something new and taking risks is a vulnerable expectation. To build social-emotional resilience, students can do this while sitting first in their comfort zone. When given too many options or asked to take too many risks all at once, most students become overwhelmed. The goal of choice is to empower students to make decisions, not to produce anxiety for fear of failure. While step-by-step instruction often feels comforting, we also want to support students to develop who they are as artists. By promoting student agency through safe practice, students build confidence to be unique thinkers and individuals.” Having this in mind, I decided to work on a series of skill-building activities with my grade 6 students before I give them more choices while working on their summative project for the current unit. Each could choose two out of the four following techniques they would like to explore for approximately one month: drawing, painting, printmaking, and collage. For those kids who were unsure how to approach the task, I selected a few activities they could be working on in each station to develop some crucial skills I want them to have (such as hatching and cross-hatching, shading, or using several watercolor techniques). All resources are shared on a Padlet that the students can access during the art classes or from home. It’s been great to watch the students explore the techniques they picked and develop some skills along the way. Hopefully, this will equip them with the tools necessary to make more independent artistic choices. Check out the photos from class, and stay tuned!
0 Comments
Do not worry, the kids are fine :-)
Pixilation is a stop motion animation of humans. Just like in claymation technique the animators use clay figures, pixilation uses people (in this case, our lovely preschoolers) as 'puppets'. We had a lot of fun with the kids but I must also admit that it was a little difficult to control them ;-) They were just too excited, especially at the beginning and it took them some time to understand that they really cannot move when I say 'freeze!' This time we used iStopMotion app which is a good software but unfortunately it's not free and a little too complicated for kindergarten and primary school kids. I'm sorry about the quality of this video but we had to work on an old MacBook... Although I do like the vintage feel of the animation now. What do you think? Many primary school students just don't get Picasso... No, wait. Many adults don't get Picasso either! Probably this is why so many art teachers fail to explain why Picasso's works are so important for modern art. I understand that some of his paintings really don't look appealing to eight or nine-year-old viewers; grey and brownish 'dirty' colors, human figures look like monsters or robots... it's not the kind of art primary school students usually appreciate. Even if cubist works look nothing like Disney's cartoons (or whatever your primary school students are into) it doesn't mean that kids can't have fun while learning about Picasso and Braque. I'm not the one who designed this class. About four years ago I had a great pleasure to meet an excellent art teacher Peter Garner who taught this class many times before. I'm also not sure if he was the author of the original idea but I know one thing - it's a great way to explain the main laws of Cubism to kids and I've taught this class to primary school students with different drawing abilities, each time changing it a little according to children's age and skills. 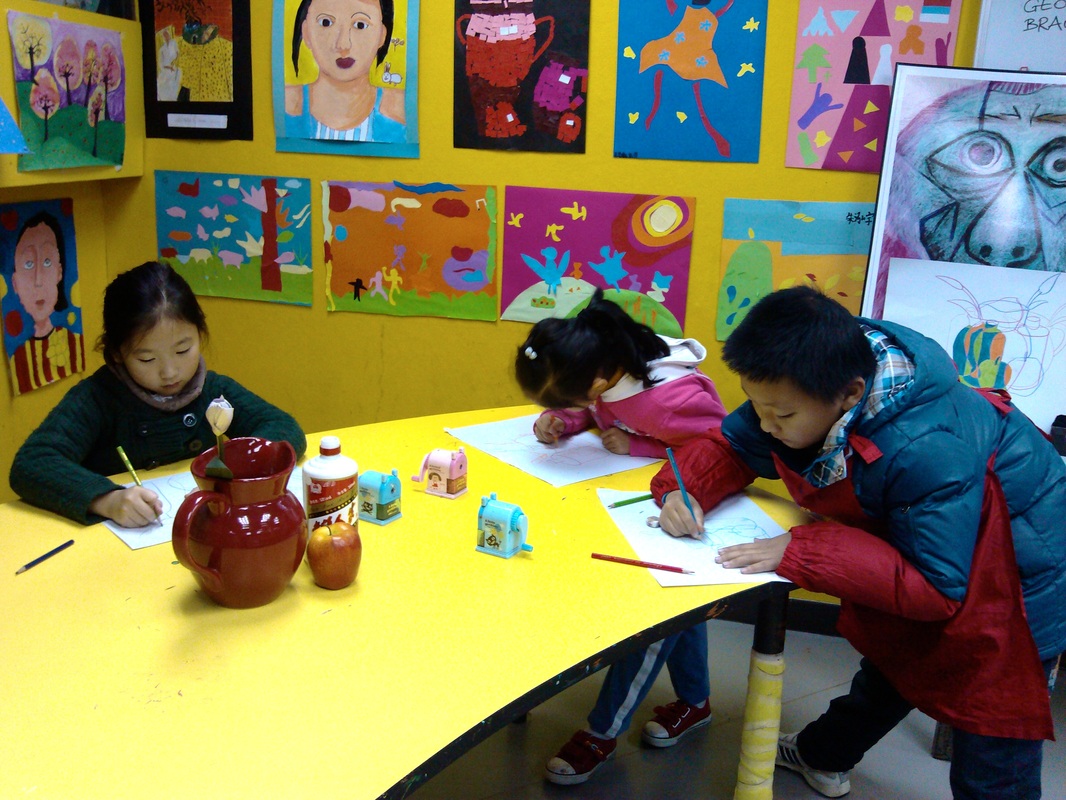 How can primary school kids draw a still-life in the style of Picasso? Note: they can draw a portrait as well if they want to. The thing is, for a portrait you usually need a model who would sit still for a while... something kids are not able to do ;-) which means that the teacher would have to be the model and this doesn't really work for me since I have to move around the classroom and help the students. So, still-life it is! Arrange a few objects in the center of your classroom or on every table. Remember to keep it simple. You will need: color pencils, markers and/or watercolors, white paper (can be watercolor paper), scissors, glue sticks and some construction paper in different colors. Ask the students to pick three color pencils in different colors. They will use them to draw the outlines of the objects so darker shades are recommended. Yellow or bright pink is definitely not a good idea. Once they are done with one drawing (remember, just the outline!) they can change seats with their classmates to draw the same still-life from a different point of view on the same piece of paper. Every kid should draw the still-life from three different points of view so they will have three overlapping drawings like on the picture below. However, if making three drawings on one piece of paper is too complicated or confusing for your students they can draw the still-life just from two angles. 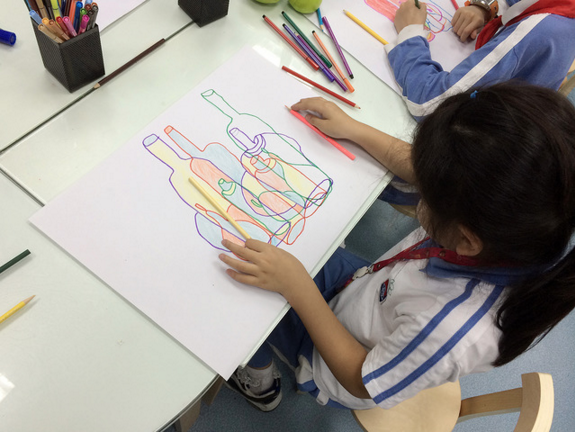 The kids can now draw the outlines again with markers if their drawing is not very clear. Now it's time for coloring! Bright colors should work just fine :) I recommend color pencils but more advanced students sometimes prefer to use watercolors. Again, the students have to choose three different colors to color in the sections and make sure no two shades touch. Once they're done they can cut the excess paper away and mount their drawing on the construction paper. Done! Isn't it beautiful?  The cool thing about kids using iPads in the art room is that this technology is totally intuitive and children can learn very quickly how to use iPads to make their own creations. The annoying thing about kids using iPads and technology in general is that you can show them how it works only once and soon you'll realize that they are better than you, which makes you feel like a dinosaur...  All children love animation and claymation is probably one of the easiest stop motion techniques to teach in primary school. The best thing about claymation is that the only material you'll need is clay or playdough which is so easy to animate! There are many free stop motion apps in the App Store and they are all fairly easy to use. My kids used Stop Motion Studio which is maybe the most popular one. Even Thomas who was the youngest kid in the group (back then he was still in kindergarten) was able to learn how to use Stop Motion Studio just in a few minutes. My students wanted to edit their videos and add some sound effects in iMovie; younger kids probably still would need more assistance here. Check out my student's claymations and tell me what you think in the comments! I have been in China long enough to understand that there's no such a thing like universal standard of beauty and what is beautiful to me as a westerner doesn't need to be beautiful to my Chinese students (and the other way around). Yet, many times I had an opportunity to talk about beauty with students of different ages while teaching about body and facilal proportions. In my classes I often refer to a book by Umberto Eco 'On Beauty' which contains some great examples of beauty standards in the history of western art. The book was hugely popular when I was an art student and it was followed by another, even more interesting publication: 'On Ugliness' 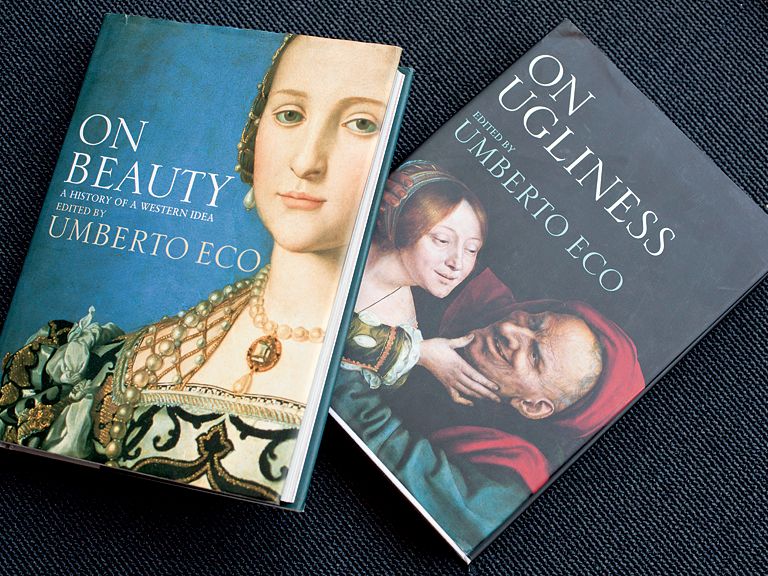 Now, maybe it's just me but I always believed that ugliness is in fact way more fascinating than beauty. There's just something compelling in all those portraits of hideous people that makes me feel attracted to these paintings. So I thought that I should give it a try and provoke my teenage students to think and talk about ugliness. People, especially young people like my students usually look for acceptance and approval of others. They try to look attractive, they take selfies and apply all those photo filters and effects which will make their pictures more beautiful. One day I asked my students 'Why wouldn't you try to take some ugly selfies?' I do understand that they are teenagers and they don't want to see themselves as ugly or unattractive, they don't want others to make fun of them. So I decided to make this 'ugly selfie' experience more fun. 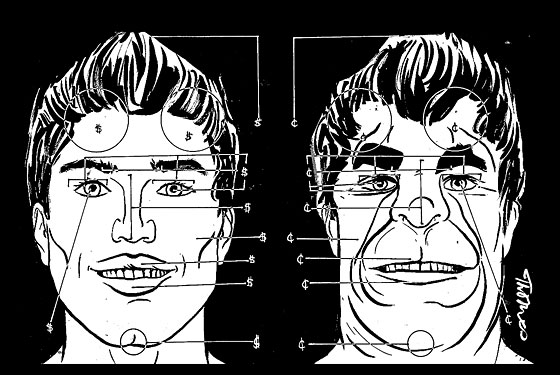 By the time we started to talk about ugly selfies all of my students were more or less aware of correct facial proportions and they knew that even a small change in those proportions can turn a portrait of a relatively attractive person into a caricature. Still not many were able to draw a caricature and this is where technology comes to the rescue.
Almost all kids in my class have iPads and they use them on daily basis but just a few tried to play with the Photo Booth app before. This time it was their main task: take as many photos of yourself and your classmates using Photo Booth and choose the best (the ugliest? the funniest?) pics which we'll use in the final artwork. My students are usually more engaged in class if I ask them to use technology and this class was no different. The kids had a lot of fun and they were very motivated as well. They've sent me lots of hilarious pictures after our first ugly selfie lesson. When we finally decided how the 'ugly groupsie' of every class should look like we projected the photo onto the wall so that the students could trace the image on a big sheet of construction paper. You can see some examples of student's works at the top of this page. Some kids took the drawings to their homerooms and guess what - their homeroom teachers loved them! Now they want their ugly portraits too ;-) Who knows, maybe one day I will teach this class to my colleagues. Everyone who ever worked with little kids knows how enthusiastic they can be about pretty much everything. If you are able to create a safe learning environment and you'll focus on the process of creation instead of the final artwork the children will most likely participate and enjoy all the activities. Also, we all know that very young learners usually have very short attention span and it's necessary to plan a few short activities which will keep the little ones busy. We started with a fun 'Milk Art' activity which is also a great idea if you want to teach for example about mixing primary colors. You can find the detailed description of 'Milk Art' project here. If you want the kids to enjoy the process and to acually make something as well you can also try shaving cream marbling, just remember that it can get a little messy and some kids really don't like to get their hands dirty. I used food coloring again but liquid watercolors should work too. And the cherry on top - Pour Painting! All kids loved the video with works of Holton Rower and they wanted to make their own pour painting too! The little ones could use building blocks and other toys to make 'a tower' and then paint it using washable paint and small squeezy bottles. It's a great activity if you want to practice fine motor skills with your toddlers. Older kids could prepare the paint by themselves (it shouldn't be too thick or too runny) and make a big 'tall painting' together. Some kids did a great job and their pour paintings look magnificent (a bit like huge birthday cakes, don't you think?). They were also very excited to participate in this activity and we all had a lot of fun! One sure thing I know about teenagers in China - they all love video games and animation! And my students from International High School in Nanshan, Shenzhen are no different. This is why I wasn't surprised when a group of 10th graders came up with this idea for their Visual Arts project. Their research had to be related to Art or Culture and to the city they live in - Shenzhen. And which creative industry represents this city better than games and animation? Since November six students: Buck, Steven, Tiger, Daryl, Tom and Reed, have been working on their first documentary. They have visited three companies so far: Tencent and 第七大道 in Nanshan District and a board game club Toy Box in the Dongmen area, and interviewed their employees. I hope they will be able to finish the project by the end of March 2016. This funny trailer shows what they've done until now. I must admit that I'm very proud of these guys. Please tell me what you think in the comments! |